Table of Contents
Introduction
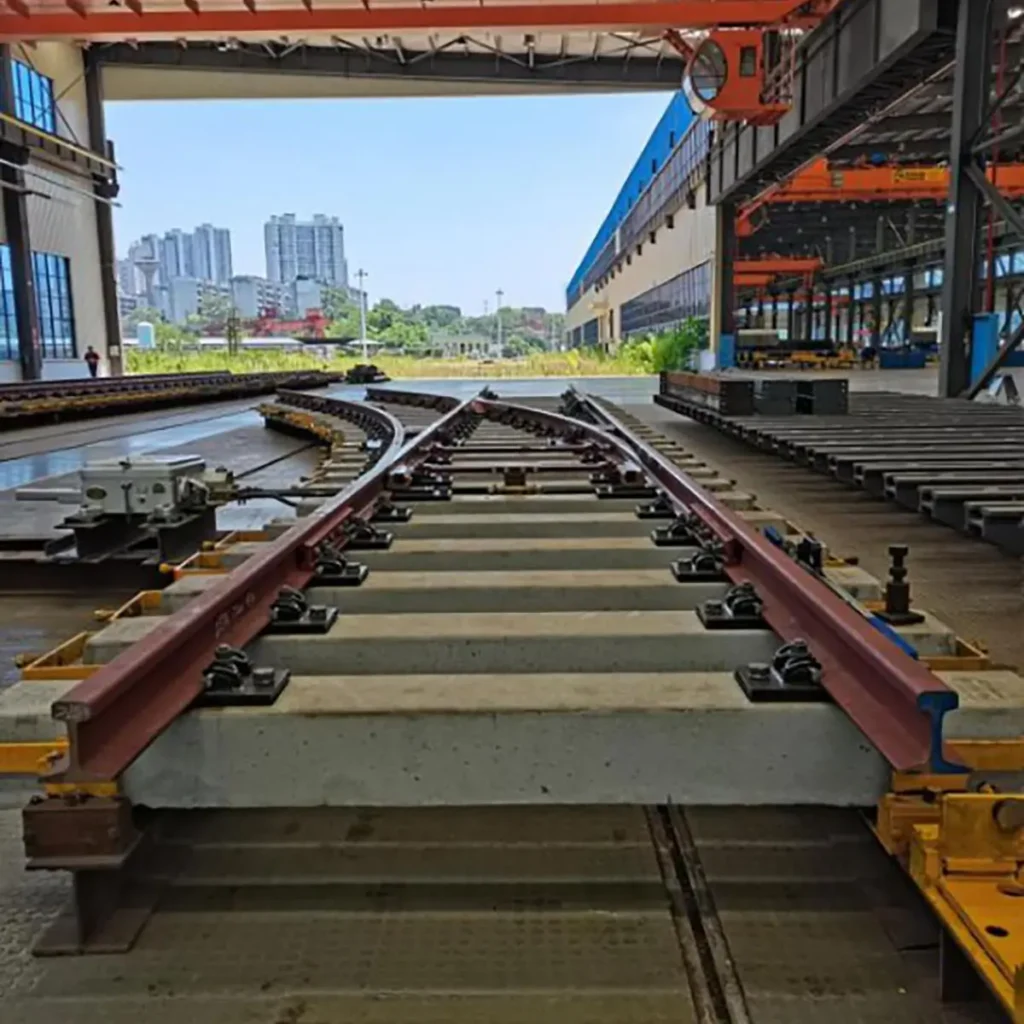
Building a railroad turnout is a crucial skill for any model railroader or railway enthusiast. A turnout, or switch, allows trains to diverge from one track to another, enhancing the flexibility and functionality of your railway layout. This guide will walk you through the steps to construct your own turnout, covering essential tools, materials, and techniques to ensure a successful build.
1. Gather Your Materials
Before you start, it’s essential to gather all necessary materials. You will need:
- Track Components: Rails, ties, and switch points.
- Tools: Soldering iron, track cutter, and alignment tools.
- Fasteners: Nails or screws to secure the turnout in place.
- Electrical Components: If you plan to automate the turnout, include switches and wiring.
2. Design Your Turnout
Designing your turnout is a critical step. You can find various turnout templates online or create your own based on your layout’s specifications. Consider factors like:
- Track Gauge: Ensure that your design matches the gauge of your existing tracks.
- Switch Angle: Decide on the angle of divergence, which affects how smoothly trains transition from one track to another.
3. Assemble the Base
Begin by constructing the base of the turnout. Lay out the ties in the desired configuration and secure them using nails or glue. Ensure the ties are evenly spaced and aligned to support the rails properly.
4. Install the Rails
Next, carefully install the rails onto the ties. Start with the mainline rail, ensuring that it is straight and securely attached. Then, add the diverging rail, making sure it aligns correctly with the switch points. Use a soldering iron for secure connections.
5. Create the Switch Mechanism
The switch mechanism is vital for controlling the turnout. You can use manual or remote control options:
- Manual: A simple lever can be used to switch the points.
- Remote: Incorporate an electrical switch for automated control. Ensure that the wiring is neatly organized and insulated.
6. Test the Turnout
Once assembled, it’s crucial to test the turnout with a train. Verify that the train smoothly transitions between tracks without derailing. Make any necessary adjustments to improve functionality.
Conclusion
Building a railroad turnout can be an exciting project that enhances your railway’s operation. With careful planning and execution, you can create a functional and reliable turnout that adds complexity and interest to your layout. Enjoy the process, and happy railroading!
FAQs
A railroad turnout, or switch, is a track layout that allows trains to diverge from one track to another.
You will need track components, tools like a soldering iron, fasteners, and electrical components if you plan to automate it.
You can use online templates or create your own based on your layout’s specifications, considering track gauge and switch angle.
Yes, you can automate your turnout using electrical switches and wiring for remote control.
Test the turnout with a train after assembly to ensure smooth transitions and make necessary adjustments.
You can explore online forums, model railroading websites, and instructional videos for detailed guides and tips.

")
")
")